Documentation for Themedy Themes
Reactiv
Please Read Before Continuing!
The following documentation assumes you've worked with the WordPress publishing platform before and have, at least, basic knowledge of it. If you want to brush up on WordPress itself please refer to the documentation found on WordPress.org.
Before you begin make sure you have the following running:
- WordPress 3.4.2+ (you should always be running whatever the latest version is)
- Genesis 1.8 or Thesis 1.8.4 Installed
- Reactiv Installed and Activated (WordPress admin or FTP setup instructions)
- If you want to use the demo content, you can import this XML file. (How to Import a WordPress XML file)
- You can also import the demo widgets using this plugin, you can import the widget_data.json file once the mentioned plugin is installed by going to Tools -> Widget Settings Import.
Back To Top
2. Core Features
As with all our Themedy themes Reactiv comes with serval core features:
- Design tool on post/page editors, learn more.
- Additional page templates, including landing pages (learn how to change page templates)
- Additional widgets, how to use them.
- Options page, make sure to check out the options page grouped under your Genesis or Thesis settings.
Back To Top
3. Getting Started
After activating this child theme in the WordPress admin as shown previously, you will end up with something like the following:
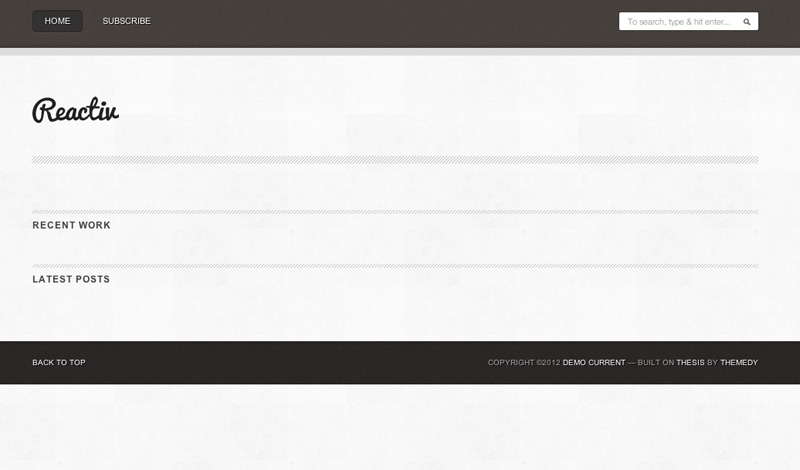
There are some key areas you need to visit to fill in the content.
- Navigation menu, create your own navigation menu by using the WordPress menu controls.
- Header / Logo, change this by visiting Appearance -> Header in your WordPress settings. If you want to change the default size, visit the Appearance -> Themedy Settings -> Logo / Header area before uploading your image.
- Empty slider, you need to add some posts or portfolio items with featured images to populate this box or turn it off in the Reactiv Settings
- "Recent Work" - You need to add some portfolio items to populate this area or turn it off in the Reactiv Settings
- "Latest Posts" - You need to add some posts with attached WordPress Featured Images (How to Set a Featured Image) to populate this area or turn it off in the Reactiv Settings
- "Copyright / Footer text" - You can edit this area by visiting the Reactiv Options Panel and editing the Footer block.
- Blog page: If you want to add a blog, create a new blank page and select the "Blog" page template. Under Settings -> Reading the option should be left at the default: "Your latest posts"
Back To Top
4. Using the Homepage Slider
The Reactiv slider can display either posts or portfolio data.
- The optimonal size of the featured image is 940x350px
- Visit Appearance -> Themedy Settings to configure the slider.
Back To Top
6. Setting up the Widgets Area
To finalize your site make sure to check out the widgets area under Appearance -> Widgets. Here are the settings we used in the demo site. You can import these by downloading the Widget Importer plugin here and then visiting Tools -> Widget Settings Import
Thank you for purchasing and using our themes. We hope you enjoy using them as much as we enjoy making them!